One Piece Welding Rod Neclace
This is a simple little project that can be completed with just a few simple tools and for very little money. You might even be able to get your material for free (I will tell you how)! I have made all kinds of jewelry, but these necklaces seem to garner the most compliments!
Materials and Tools

- MATERIAL
Stainless steel TIG welding rod 1/16", 3/32" or 1/8" can all be used, however, if you don't a have a torch to heat the rod for bending, I would stick with the smaller diameters.
This rod can be obtained from your local welding supply store and some home improvement stores. If you go to the welding supply store, they sell these buy the pound and if you only want one or two of each, most likely the won't even charge you. At least they don't around here. Men, in order for this to work, I would advise that you send your better looking half to get the material!
- TOOLS
- Pliers
- Hammer
- String
- Sand paper or a file (even a cheap nail file will do)
- Something sturdy and round to use as a mandrel (I used a piece of pipe, but a coffee can or something similar would work just as well).
- Torch (Optional, but it makes it easier if you are going to use larger diameter rod or if you are going to make a design with tight bends).
Measure Neck Size for the Necklace Diameter.

Here is where the string comes in. You could use a soft tape measure made for sewing, but the string is just easier, as you will see later. You don't want it to look like she's wearing a hula hoop, but you don't want to choke her either!
Lay Out the Design.


I did my lay out in chalk on the floor of the shop. Make a circle with the string the size of the neck measurement you came up with. Then shape the string into your design and cut the string. Now you can straighten out the string and use it to cut the rod to the proper length. I always add about an inch to the string length just to be safe. You can always cut it shorter, but adding material is a bit more challenging!
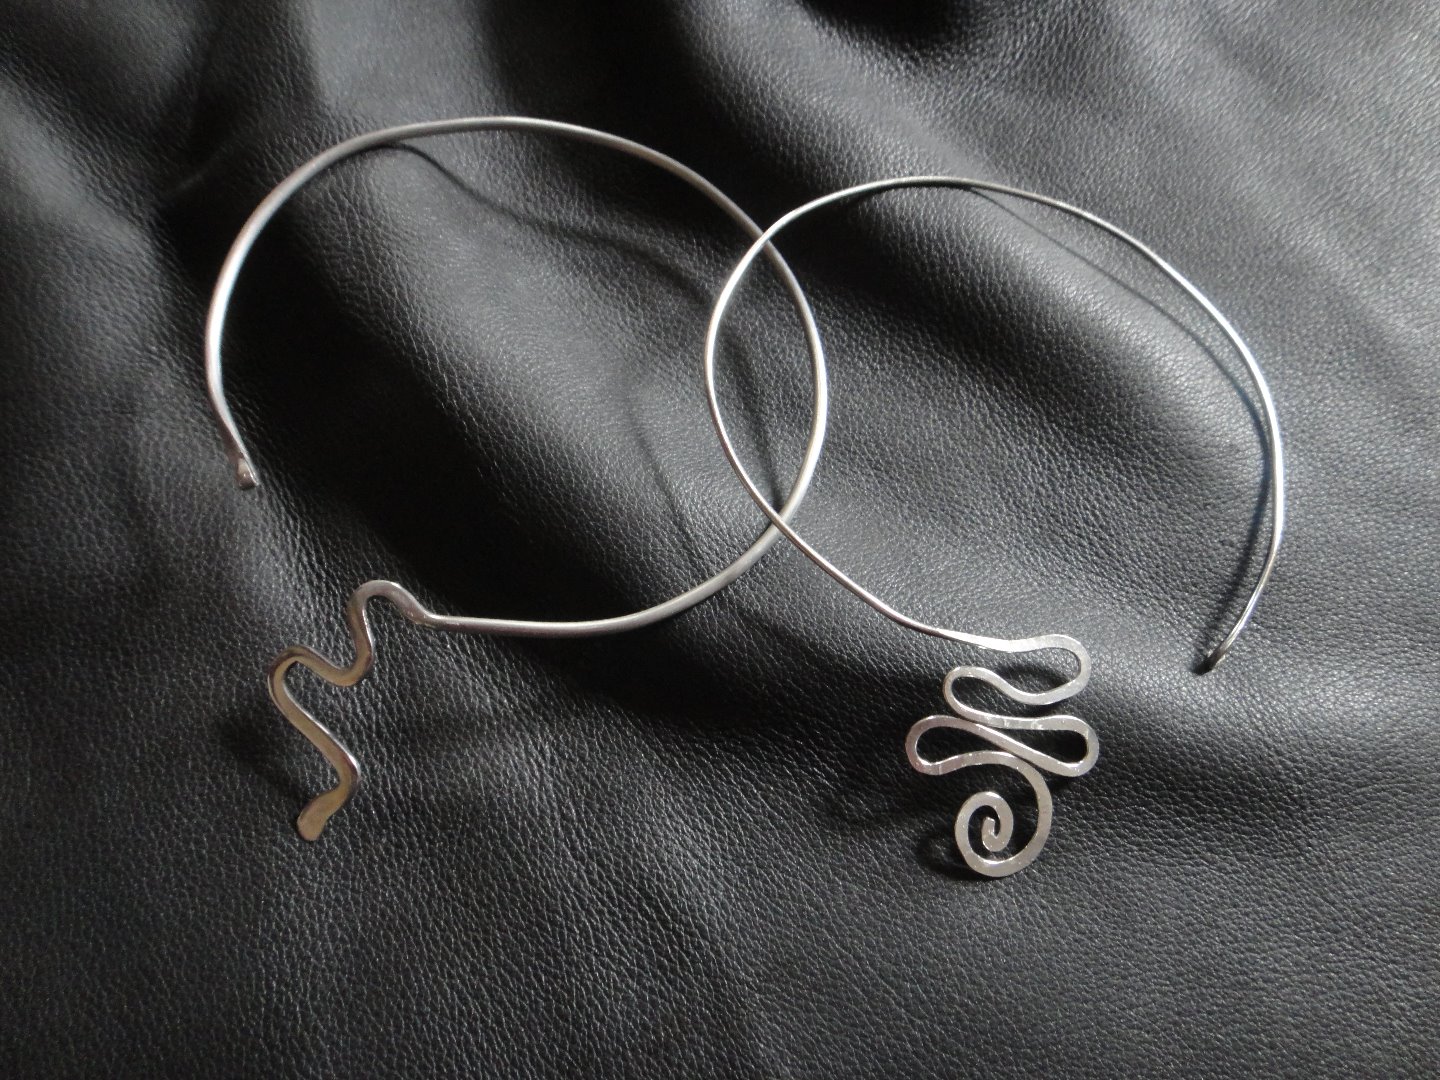
Bend It to Shape.


I always start by bending the design at the bottom of the necklace first. Next, make the hoop, using your mandrel as a guide. Take your time and try to keep it a nice smooth bend. By not completing the bend all the way around you have built in spring tension that keeps the necklace closed. Then make your bend for the clasp. If you want you can hammer your design flat if you like the look of it better, as I have done to varying degrees on these.
Smooth Any Rough Edges.

Take sandpaper or a file and carefully round and smooth the end cuts.
Wear It!

