Best Jewelry Box


I made this Jewelry Box a little ago, and I Thought that I should make instructions for them so here they are, very VERY EASY to follow, pictures are GREAT.
Wood Needed
- 57 x 27 inches needed of Plywood
- 57 x 2 inches of wood needed for compartments
Tools Needed
- Jigsaw
- Hand saw
- Sander
Other
- Stain
- Black Paint
- Pencil
- Paper
Making the Sides

- Cut four pieces of plywood, 11 inches long by 3.5 inches wide.
- Then cut angles on the ends so the wood can fit together.
- Then sand the wood.
Measurements for the Compartments


Measure this on a spare piece of plywood or paper, this is to help with layout (You won't need to keep this piece of wood).
Easiest Way to Sand Small Pieces of Wood With a Electric Sander
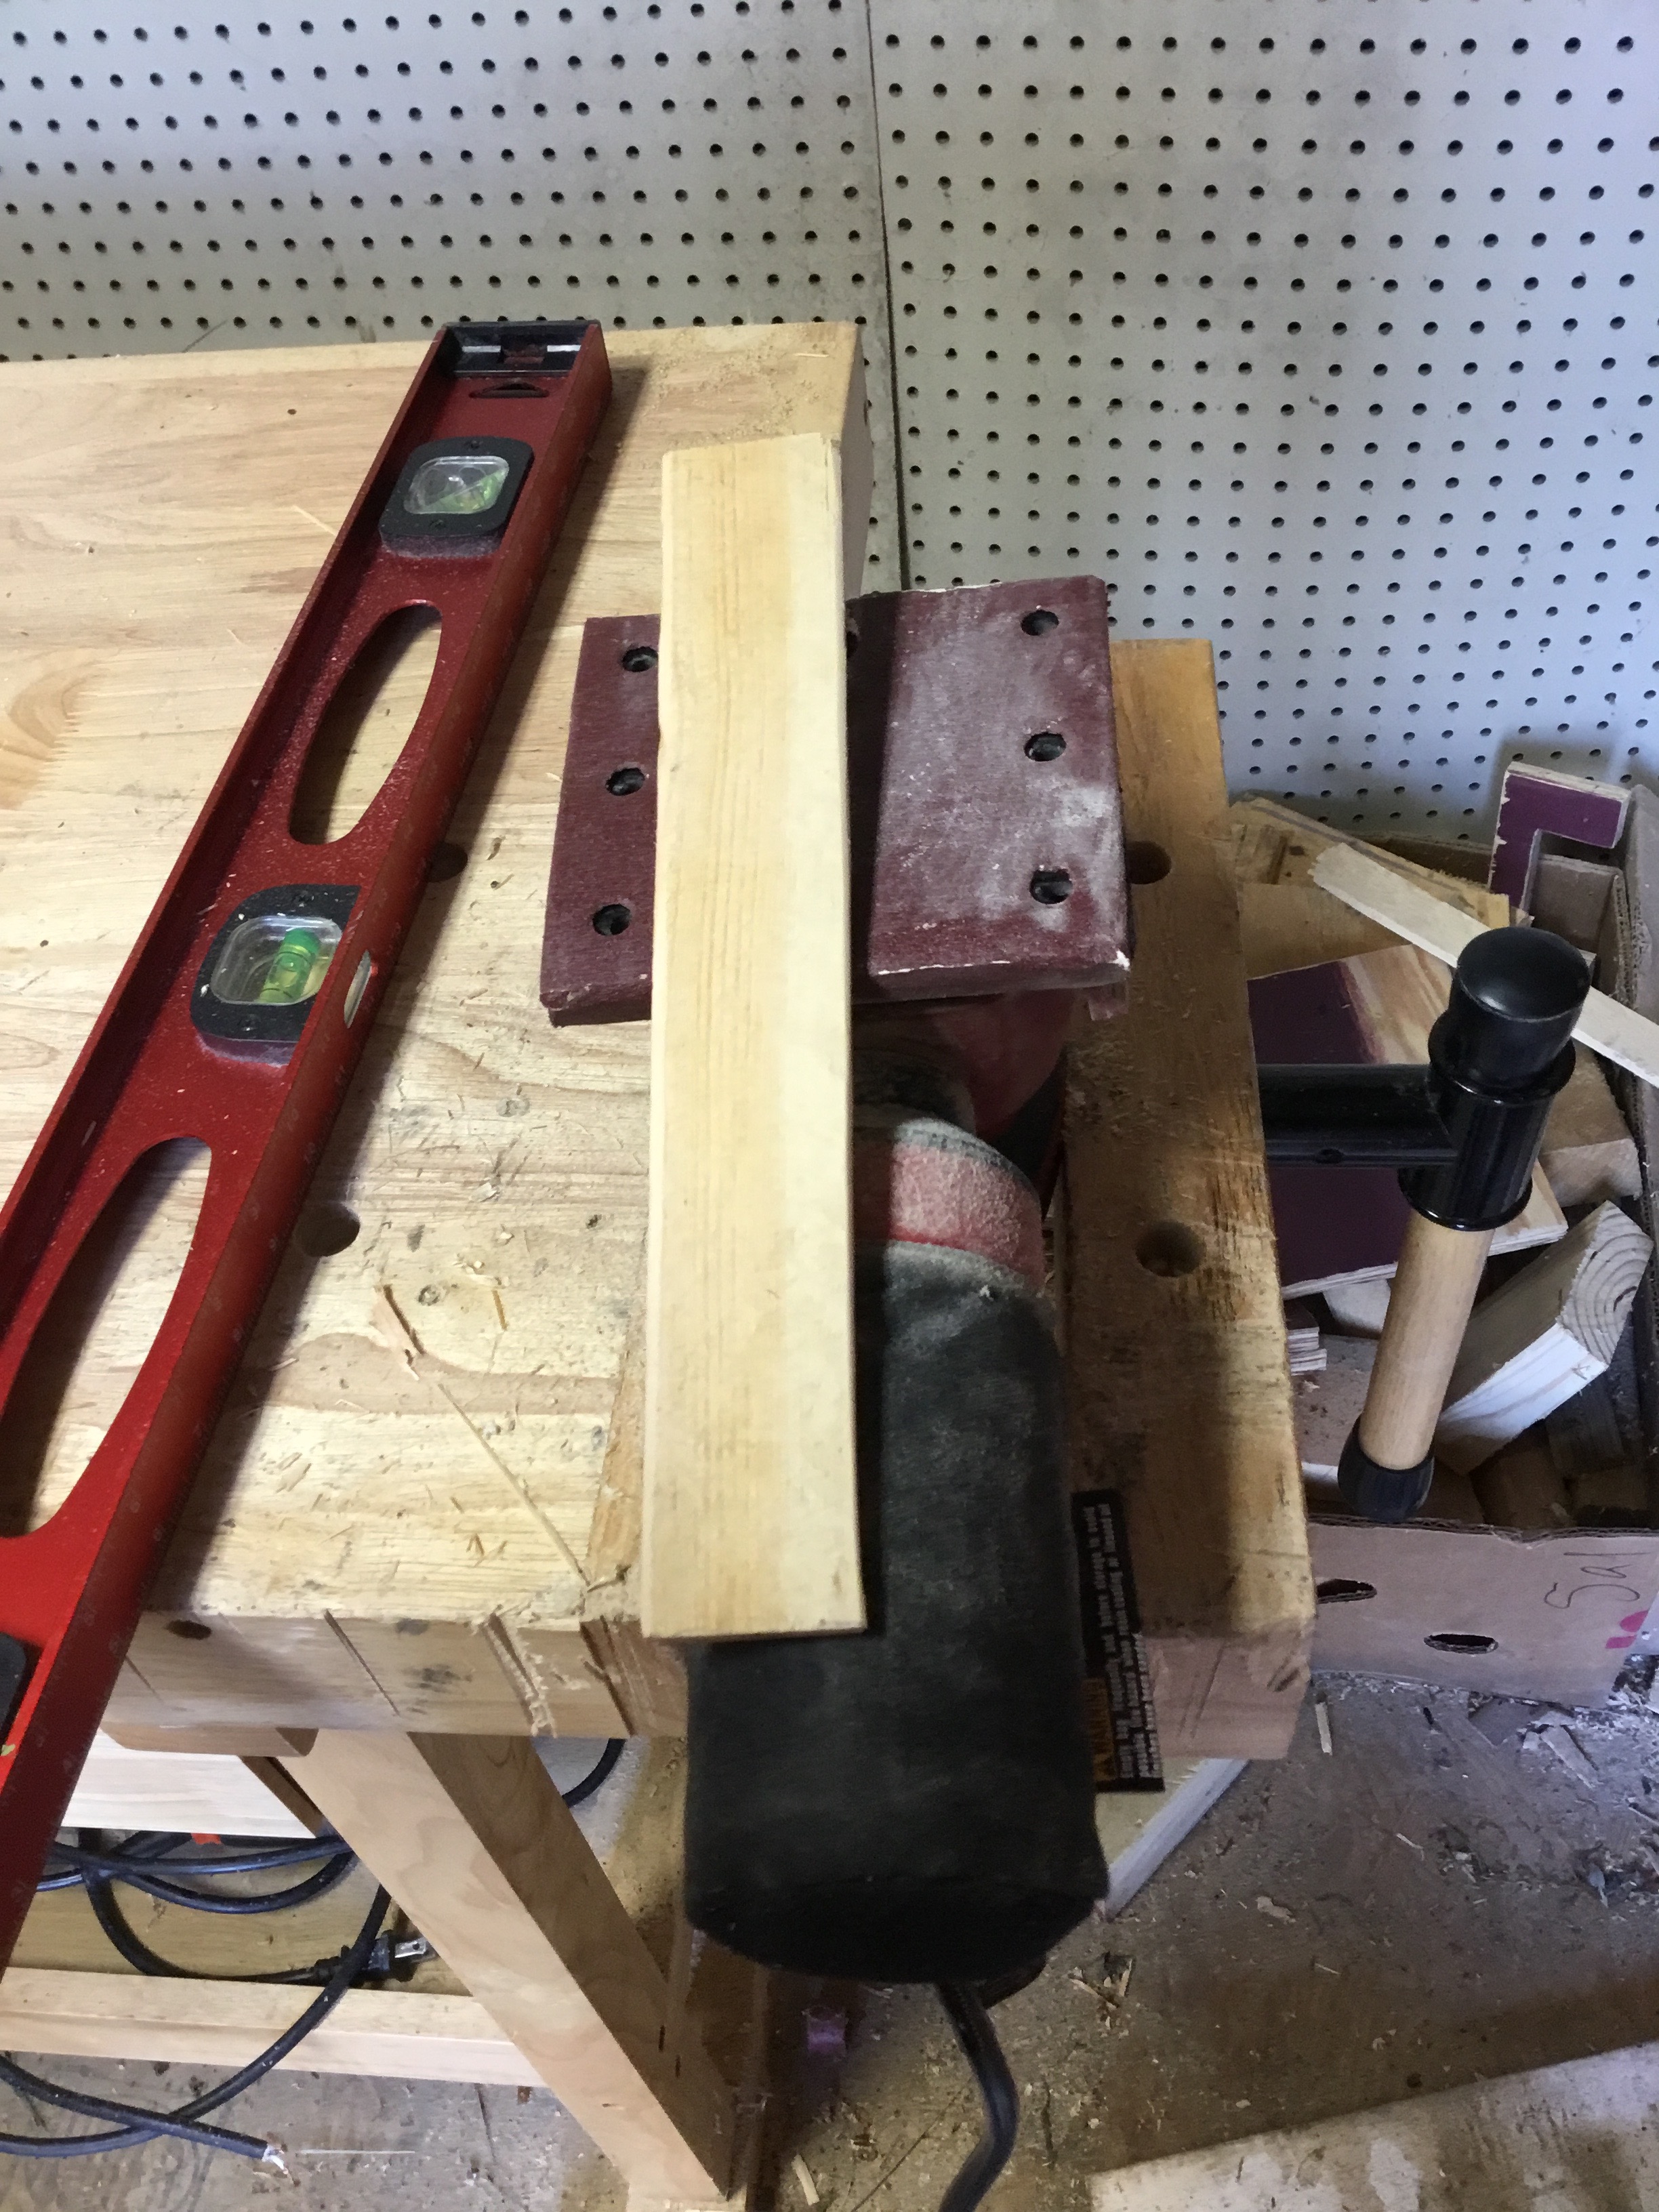

Clamp the sander in the clamp then start sanding.
I find this very helpful for sanding small and light pieces of wood.
Cutting the Wood for the Compartments


- Cut 6 pieces of 9 1/2 inch by 2 inch wood. (Can be from 1 1/2 inch to 2 1/2 inch mine is 1 1/2 inch)
- Then sand the wood.
Measurements for the Notches


- Measure halfway down the wood.
- Then cut it about 1/4 inch wide, just to make room for the other piece of wood. To do this you must cut halfway down the wood. Then move the saw 1/4 inch to the side and cut halfway.
Making the Bottom

- Measure 11 x 11 inches.
- Then cut it out with a table saw or a jigsaw.
- Then sand the ends.
Adjusting

Put the four sides of the box and the compartments together.
Adjust the ends of the compartments to fit into the sides of the box.
All the parts are not nailed or stapled together, the compartments are not glued but are put together.
Connecting the Bottom and the Sides


- Put the bottom on the sides (as shown in photo)
- Then staple it down and for support I nailed three nails in each side (as shown in photo)
- Flip the box over and nail one nail in each side (as shown in photo)
Putting the Compartments in the Box and Adjusting It

Adjust the ends of the compartments
Optional Step
After I finished the box I figured out that I had made a mistake. You should put the felt on before you stain all of the box (under the compartments) and when you stain it you should stain the compartments separately. Then you should glue the compartments to the felt and put on some wood filler.
But if you want to do what I did you can. All the steps are for my way but you can easily do the OPTIONAL STEP.
Connect the Compartments

Glue the Compartments to the back of the box.
Wood Filler

Follow the photo.
Staining the Wood


Stain the wood with any stain you want.
After it is done drying stain it again.
(Read next step to figure out what to do when stain is drying)
Making the Lid

Cut a piece of plywood 13 inch by 13 inch.
This is the lid.
Painting the Lid


Follows the Photos instructions I will supply a link to the image that I used.
https://www.polyvore.com/cgi/img-thing?.out=jpg&size=l&tid=12032572
Connecting the Hinges


Screw the hinges onto the lid, then screw the other side to the box.
Optional Step

If you followed my way, this step is for you, if the followed the other way, you are done.
- Cut the felt to the size of each compartment.
- Then Glue the felt on the bottom of the box.(compartment by compartment)